How to Build a Gaming PC on a Budget: A Step-by-Step Guide
Why Build a Budget Gaming PC?
Building a budget gaming PC lets you save money while customizing your system exactly to your gaming needs. Compared to pre-built systems, a budget gaming PC offers better value, upgrade paths, and a sense of accomplishment.
When you build your own PC on a budget, you control every component—from the CPU and GPU to the case and power supply unit (PSU)—allowing you to prioritize performance where it matters most. It also means avoiding costly brand markups and pre-installed software that come with pre-built machines. This customization combined with cost savings is especially rewarding for first-time builders and gamers looking to get solid gaming performance without overspending.
Key Components You Need and How to Choose Them
A budget gaming PC requires selecting core components wisely to balance cost and gaming capability. The essential parts include the CPU (processor), GPU (graphics card), motherboard, RAM (memory), storage (SSD/HDD), power supply unit (PSU), and PC case. Each affects performance and upgrading potential.
- CPU: Look for budget-friendly processors like AMD Ryzen 3 or Intel Core i3 lines that offer solid multi-core performance for gaming and streaming.
- GPU: A dedicated graphics card such as the NVIDIA GTX 1650 or AMD Radeon RX 6500 XT often delivers the best gaming value per dollar in budget builds.
- Motherboard: Choose a motherboard compatible with your CPU socket and supports your essential features without costly extras.
- RAM: Aim for at least 8GB DDR4 memory, which is sufficient for most budget gaming needs, with options to upgrade to 16GB later.
- Storage: A 240-480GB SSD ensures faster game load times and OS responsiveness; you can add a larger HDD for mass storage if needed.
- Power Supply Unit (PSU): A reliable 450-550W PSU from reputable brands protects your system and allows future upgrades.
- PC Case: Select a case with good airflow and enough room for components, often mid-tower cases priced affordably.
These components together form the backbone of a budget gaming PC that can handle popular games at 1080p with decent settings.
Where to Find the Best Deals on Budget PC Parts
To build a budget gaming PC, sourcing affordable components without sacrificing quality is key. Shop around online marketplaces like Newegg, Amazon, and Micro Center, which often have deals or bundles on CPUs, GPUs, and parts.
Consider certified refurbished or open-box items from trusted sellers to save money without high risk. Also, keep an eye on seasonal sales events such as Black Friday or Cyber Monday for discounts on essential components.
For rare or sought-after GPUs, using price-tracking tools can help you spot price drops quickly. Joining PC building forums and subreddits is another smart way to discover insider tips on where to buy budget parts or snag local deals.
Step-by-Step Assembly Instructions
Assembling your budget gaming PC is straightforward with careful preparation and basic tools. Follow these steps for a smooth build experience:
- Prepare your workspace and tools. Clear a large, static-free surface. You’ll need a Phillips screwdriver, an anti-static wristband if available, and cable ties for neatness.
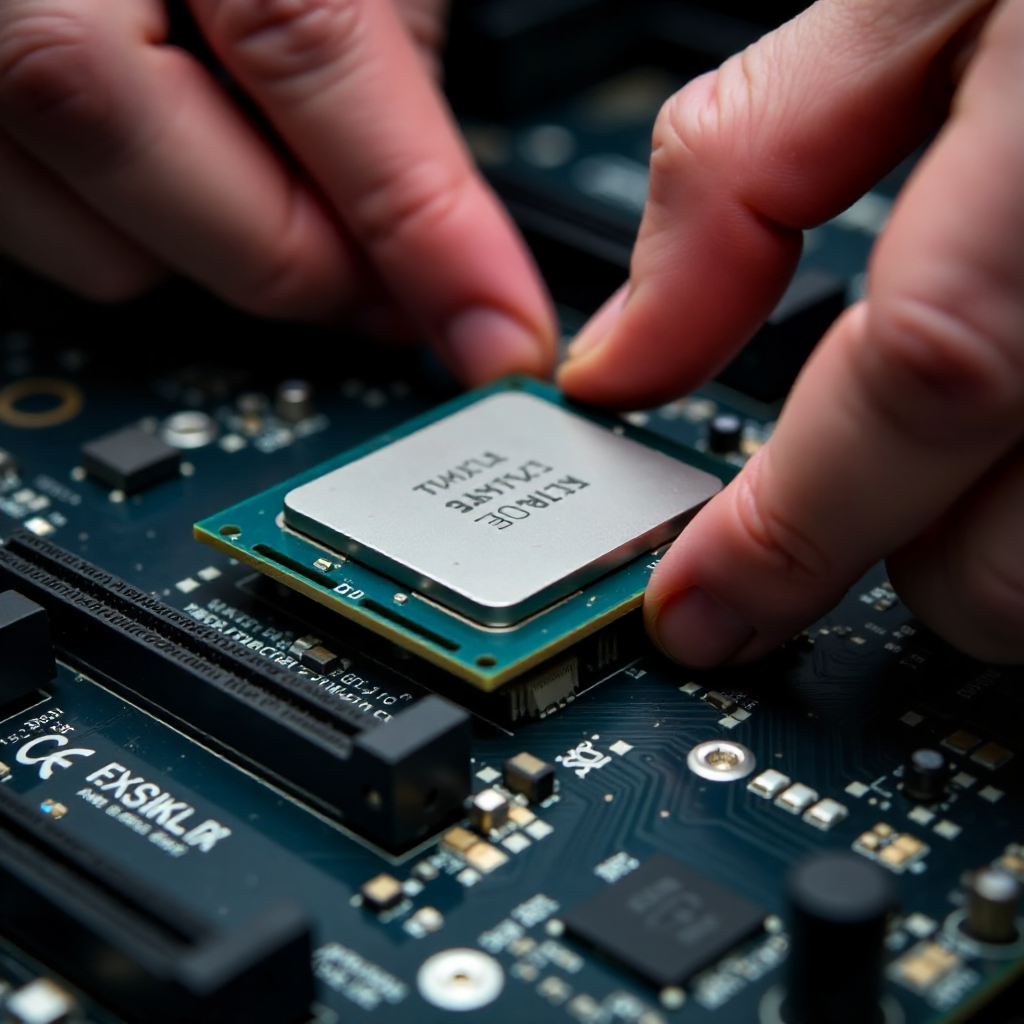
- Install the CPU onto the motherboard. Unlock the CPU socket lever, carefully place the CPU in orientation, and lock it in place. Handle the CPU by edges only to avoid damage.
- Attach the CPU cooler. Apply thermal paste if not pre-applied, then secure the cooler according to the manufacturer’s instructions to prevent overheating.
- Insert RAM sticks. Align and firmly click memory modules into the correct motherboard slots.
- Install the motherboard in the PC case. Use the supplied standoffs and screws to mount it securely, ensuring I/O ports line up with the case back panel.
- Add the storage drives. Mount SSDs or HDDs in the designated bays and connect SATA cables as necessary.
- Install the GPU. Fit the graphics card into the highest PCIe x16 slot and secure it with screws. Connect power cables from the PSU if needed.
- Connect power supply cables. Attach 24-pin motherboard power, CPU power, GPU power, and all necessary cables to drives and case fans.
- Manage cables. Route cables cleanly with ties to improve airflow and aesthetics.
- Perform a first boot test. Connect the monitor, keyboard, and mouse, then power on. Enter BIOS to verify all components are detected.
- Install the operating system. Use a USB installer to install Windows or preferred OS, then update drivers for optimum performance.
Take your time with each step, and use online video tutorials or your component manuals for visuals.
Optimizing Your Gaming PC for Performance on a Budget
To maximize gaming performance on a budget gaming PC, begin with adjusting in-game settings to balance visuals and frame rates. Lowering textures, shadows, and disabling anti-aliasing can boost FPS without major hardware upgrades.
Regularly updating GPU drivers ensures you get the latest performance improvements and bug fixes. Using software tools like NVIDIA GeForce Experience or AMD Radeon Software can simplify this process.
Consider modest future upgrades: adding an extra 8GB of RAM, switching to a higher-capacity SSD, or upgrading the GPU when budget permits. Overclocking your CPU or GPU can unlock extra performance, but requires careful monitoring to avoid overheating.
Finally, keep your PC physically clean and cool by dusting components and ensuring good airflow with case fans or aftermarket coolers.
Common Mistakes to Avoid When Building Your First Budget Gaming PC
- Choosing incompatible parts: Many beginners buy components without confirming CPU and motherboard socket compatibility or PSU wattage, causing costly delays. Always cross-check specifications before purchase.
- Neglecting power supply quality: Cheaper, low-quality PSUs can damage components or lead to unstable performance. Opt for reputable brands with at least 80 Plus Bronze certification.
- Skipping thermal paste or improper cooler installation: This results in overheating and poor CPU performance. Follow cooler instructions carefully and never reuse old thermal paste.
- Ignoring cable management: Poor cable routing reduces airflow and complicates troubleshooting. Taking 10 extra minutes to tie and route cables improves cooling and aesthetics.
Final Thoughts and Next Steps
Building a budget gaming PC is a rewarding project that delivers great gaming performance while preserving your wallet. Start small with affordable, compatible parts, and gain confidence by following a clear assembly plan.
Once your gaming rig is up and running, keep an eye on your system’s health, update software regularly, and plan gradual upgrades as your budget grows. This approach extends your PC’s usability and adapts it to new game demands over time.
With patience and attention to detail, even first-time builders can create a gaming PC that punches well above its weight class in performance and value.
FAQ
Should I buy new or used parts?
Buying new parts guarantees warranty support and reliability, especially for critical components like the PSU and CPU. Used parts like GPUs can offer savings but come with risks of hidden damage. Purchase used only from trusted sellers with return policies.
Can I build a gaming PC under $500?
Yes, but expect to play less demanding games or use lower graphics settings. Prioritize a decent CPU, at least 8GB RAM, and a budget GPU, possibly from the used market, to hit this budget.
How much time does building a PC take?
For beginners, expect 2-4 hours for assembly and setup, including BIOS configuration and operating system installation. Experience reduces this to under 1-2 hours.
What games will a budget gaming PC run?
Budget builds typically run popular esports and older AAA titles like Fortnite, CS:GO, Minecraft, and GTA V at 1080p with playable frame rates. Newer AAA releases may require reduced visual settings.
Do I need special tools to assemble a PC?
Mostly, you need a Phillips #2 screwdriver and an anti-static wristband (optional but recommended). Avoid magnetic tools near components and keep a clean workspace.